Custom Resistance Bands: 8 Specifications for Private Label Buyers
Custom resistance bands are easy to describe in a short inquiry and surprisingly easy to misunderstand in production. A request for “five bands in our colors” does not define the construction, resistance progression, dimensions, labeling or package contents. Those details affect the sample you receive and the consistency of later orders.
Private label buyers can reduce uncertainty by turning the product idea into a written specification before requesting a final quotation. The following eight points create a practical starting brief for loop bands, flat bands, power bands and handled resistance tubes. Exact options depend on the selected product, so each item should be confirmed with the supplier and approved through a physical sample.
1. Define the Resistance Band Product Type
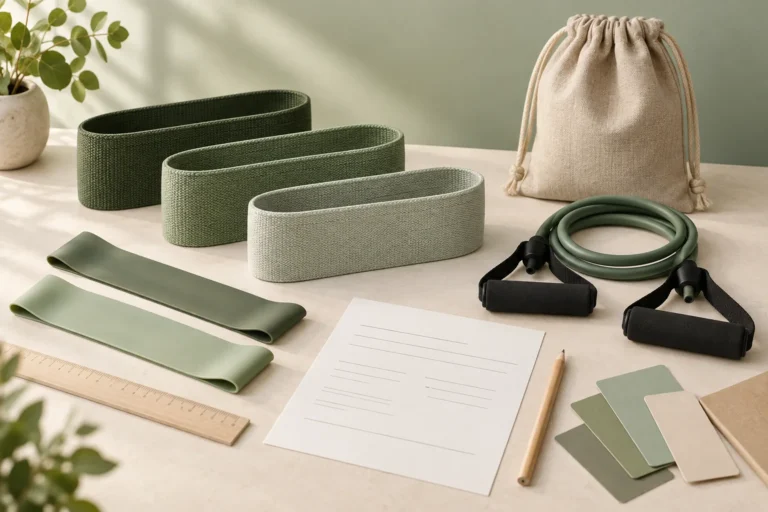
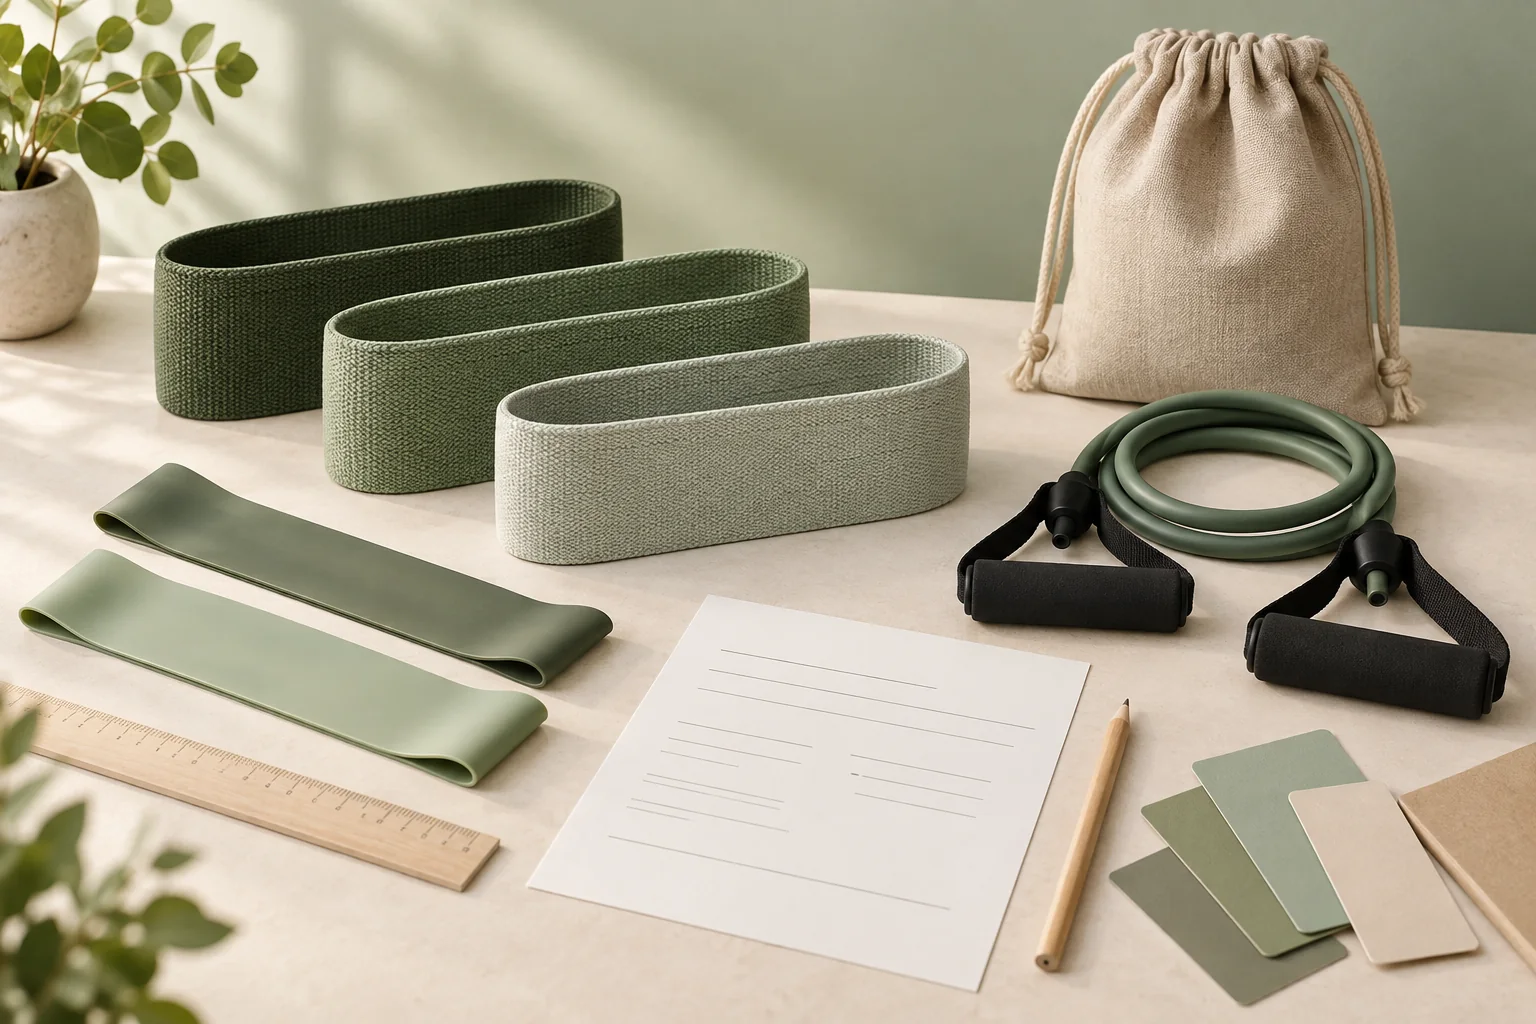
Begin with the construction rather than the color. Fabric loop bands, molded mini loops, flat therapy-style bands, continuous power bands and resistance tubes with handles are different products. They use different dimensions, accessories, branding methods and packaging formats.
State whether each band is sold individually or as part of a set. If the set includes handles, door anchors, ankle straps or a carry pouch, list every component and the quantity of each. A reference photograph can help identify the general format, but it should be accompanied by written requirements.
Review the AICO Yoga product range and include the closest product or model reference in your inquiry. This gives the supplier a clearer starting point while leaving room to discuss material, dimensions and branding.
2. Specify Material and Construction
Ask the supplier to identify the proposed material and construction for every band type. Do not assume that two products with a similar appearance will stretch, feel or age in the same way. For fabric bands, confirm the textile composition, elastic structure, inner surface and edge construction. For molded or sheet-style bands, ask how the material and product layers are defined.
If a latex-free requirement matters to your target market, state it explicitly and ask what supporting product information is available. Avoid placing environmental, allergen or material claims on the product or packaging until the wording has been checked against suitable evidence for that exact item.
Keep the material description in the approved specification. Changing the construction between sample approval and production can also change the feel, resistance and printing result.
3. Define Resistance at a Measured Extension
Labels such as light, medium and heavy are convenient for shoppers, but they are not a complete manufacturing specification. Ask how resistance is measured, including the starting length, extension distance or extension percentage, test method and acceptable range. Make sure the same method is used for samples, production checks and repeat orders.
For a multi-band set, review the progression between levels as well as each individual value. Colors should identify the approved levels rather than serve as the only definition of resistance. Record the relationship between product color, level name and measured requirement in one document.
If you are matching an existing benchmark, provide a labeled physical sample and describe what must be matched. A photograph or a competitor’s level name does not provide enough information to reproduce its resistance behavior.
4. Record Dimensions and Tolerances
Write down the finished length, circumference where relevant, width and thickness with units. For fabric loops, also consider how the construction behaves at seams or joined areas. For resistance tubes, include the tube length and the dimensions or configuration of handles and connectors.
Ask the supplier which dimensions influence the resistance result and what tolerances can be maintained. Do not change length, width or thickness as an isolated cosmetic decision without checking how it affects performance. A revised dimension may require a new physical sample and new measurement record.
Use a simple labeled drawing so that each number has one clear meaning. Keep the drawing revision with the approved sample to prevent an old size from being reused during a reorder.
5. Build a Clear Color and Level System
Choose whether the set will use one brand palette across all levels or a distinct color for every resistance. Provide physical color references or an agreed color standard when color consistency matters. Screen previews are useful for discussion, but they should not be the only approval reference.
Plan how users will distinguish levels when colors look similar or are viewed in low light. A level name, simple mark or other legible identifier can support the color system. Confirm the exact wording and location on each band before production.
For repeat orders, retain the approved color references and record any acceptable variation. Material and surface differences can affect how the same requested color appears across fabric, molded bands, tubes and packaging.
6. Approve Logo, Markings and Instructions
Provide vector artwork and specify the final logo size, orientation, color and position for each product. The available branding method depends on the material and surface. Ask the supplier to recommend suitable options, then approve the result on the actual band rather than relying only on a digital mockup.
Inspect print or label clarity when the product is relaxed and at the agreed extension. Check alignment, edge definition and contrast. If resistance levels or warnings appear on the band, include the exact approved text in the artwork record.
The OEM and ODM solutions page provides a useful overview of the customization discussion. Final artwork, product specifications and packaging files should share a clear revision date so the approved versions can be identified.
7. Specify the Complete Retail Package
List every item the customer should receive: bands, accessories, pouch, printed guide, labels and retail package. Define the order quantity in complete sets and state the number of each component per set. This avoids confusion between quantities of individual bands and quantities of saleable units.
Choose packaging around the sales channel and product weight. Confirm the inner arrangement, product protection, barcode location and required market information. Review a fully packed sample to check that the components fit correctly and that the package can be opened, closed and presented as intended.
Request the final packed dimensions, unit weight and carton configuration after the package is approved. These figures are more useful for shipping planning than estimates based on the bands alone.
8. Agree on Quality Checks and Reorder References
Before production, identify the approved sample, resistance measurement method, dimensional drawing, color reference, artwork and packaging sample that will guide inspection. Discuss which checks will be performed on materials, components, finished bands and packed sets.
Useful checks may include dimensions, appearance, resistance against the agreed method, printed markings, component quantities and package condition. The exact inspection plan should reflect the product construction and intended market. Visit the manufacturing page to frame questions about production and inspection for your project.
Keep an approved reference set and the final written specification for reorders. Ask the supplier to report proposed changes to materials, construction, accessories or packaging before producing the next batch.
Custom Resistance Bands Inquiry Checklist
- Band type and quantity of each item in the saleable set.
- Material, construction and any product-specific requirements.
- Resistance levels with a defined measurement method.
- Length, width, thickness and agreed tolerances.
- Color reference and the level-identification system.
- Logo artwork, markings, placement and approval method.
- Accessories, instructions, pouch and retail packaging.
- Inspection criteria and references for repeat orders.
Mark undecided details as open questions instead of allowing different assumptions to enter the quotation. When comparing suppliers, ask them to separate alternatives clearly so material, construction or packaging options are not mixed into one price.
Frequently Asked Questions
Should resistance levels be defined only as light, medium and heavy?
No. Those labels help organize a set, but buyers should also agree on how resistance is measured and what range applies to each level.
Can one color standard look identical on fabric and molded bands?
Material and surface differences can change the appearance. Review physical samples and keep approved references for each construction.
Is a digital logo mockup enough for approval?
A mockup confirms placement and scale. A physical branded sample is needed to review clarity, adhesion, alignment and appearance on the actual material.
What should be retained for a repeat order?
Keep the approved product set, resistance method, dimensional drawing, color references, artwork revision, packaging specification and any agreed production changes.
Prepare a Comparable Private Label Brief
A complete specification makes custom resistance bands easier to quote, sample, inspect and reorder. Define the product construction first, document how resistance and dimensions will be checked, and approve the entire retail set rather than evaluating the bands in isolation.
Contact AICO Yoga about your custom resistance band project. Share your preferred band type, target resistance levels, quantity, branding and packaging requirements so the next steps can be reviewed around one clear brief.